Tile Showers · St. Cloud, MN

Tile Showers In St. Cloud, MN

We take the shower to the studs, set the drain, build a sloped pan, waterproof every wall and the floor, and then set the tile. Our own crew, fifth generation, free on-site measure.

Gray stone look shower walls with a black pebble accent stripe that flows into a black pebble floor

What Goes Into One

The tile is the part you look at. The part that decides whether the shower lasts is underneath it: the slope of the pan, the drain connection, and a waterproofing membrane that runs unbroken from the floor up every wall. That is where a failed shower fails, so that is where we spend the time.

Where We Like To Start

The best starting point is a shower taken down to the studs with a 2 inch PVC drain stubbed up. From there we handle the drain, the pan, the waterproofing and the tile. If the old shower is still standing, tell us and we will go over the tear out when we measure.

What You Choose

  • Wall tile and floor tile. Floor tile is usually smaller so it can follow the slope.
  • A niche, single or two tier, a bench or a seat, and corner shelves.
  • A curb, or curbless if the floor structure allows it. We check that on site.
Scroll To See It Come Together

From Studs To Finished.

Down to studs
Illustration
Step 1: Down to the studs, rough plumbing set.
Scroll ↓
Before The Tile

Three Stages Of Every Tile Shower

Most shower photos only show the finished tile. The first two stages are the ones that decide whether a shower lasts, and once the tile goes up nobody sees them again. This is what happens behind the wall on every shower we build.

Stage 1

Down To The Studs

The old shower comes out and the walls open to the framing. Rough plumbing is set before we build anything.

  • 2 inch PVC drain stubbed up where the floor drain goes
  • Valve and shower head rough-in in place
  • Blocking in the wall for the niche, the bench and anything that will hang there
Stage 2

Waterproofing And Prep

This is the stage that decides whether a shower leaks. Grout is not waterproof. The membrane is.

  • Pan built with a slope to the drain, so water never sits
  • Schluter KERDI membrane over every wall and the pan, tied into the drain
  • Seams and inside corners overlapped and sealed
  • Niche and bench wrapped in the same membrane as the walls
Stage 3

Finished Tile

Tile on the walls, the floor and the niche, grouted, and caulked where the shower needs room to move.

  • Floor tile sized to follow the slope of the pan
  • Finished edges on every outside corner
  • Cleaned up before we leave
Our Work

Tile Showers Our Crew Built

Brown stone look tile on shower walls and ceiling with a vertical glass mosaic stripe, niche and two showerheads
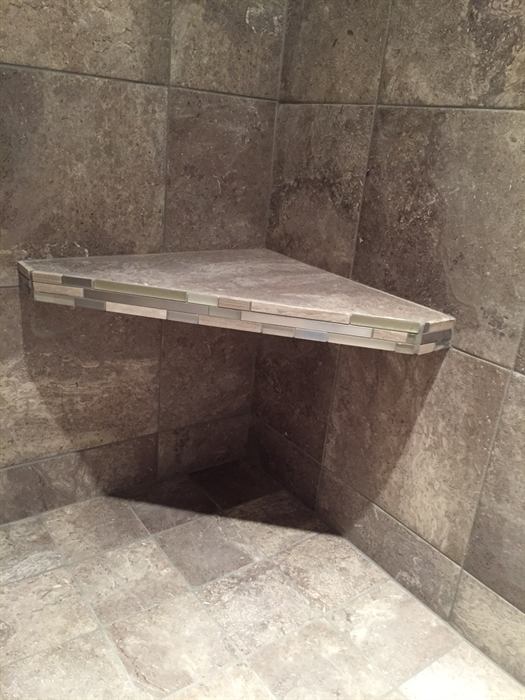
Corner shower bench edged with a linear glass mosaic strip, brown stone look walls and diagonal floor tile
Corner shower with white rectangular wall tile and a black and white hexagon mosaic floor
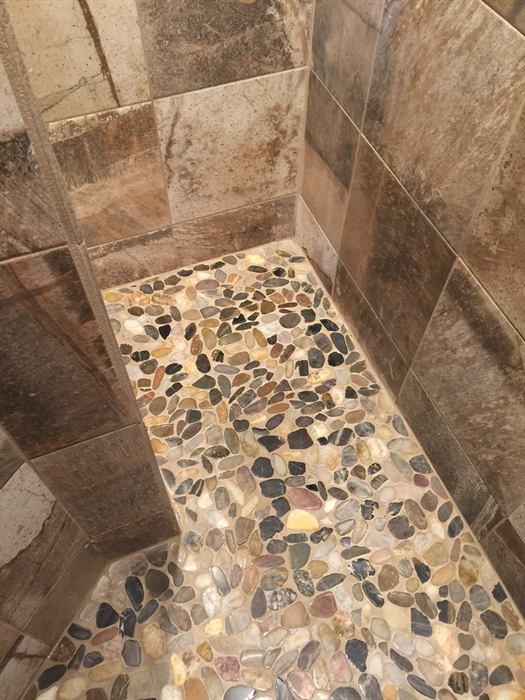
Multicolor river pebble mosaic shower floor with large brown and gray stone look wall tile
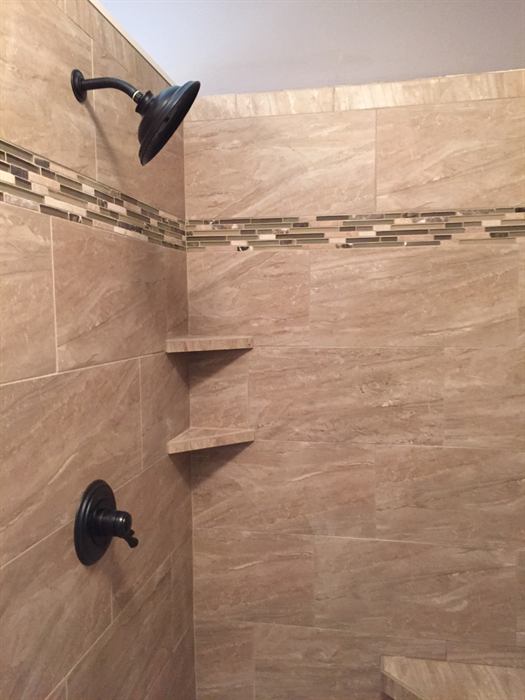
Beige marble look large format shower tile with a glass linear mosaic accent band and corner shelves
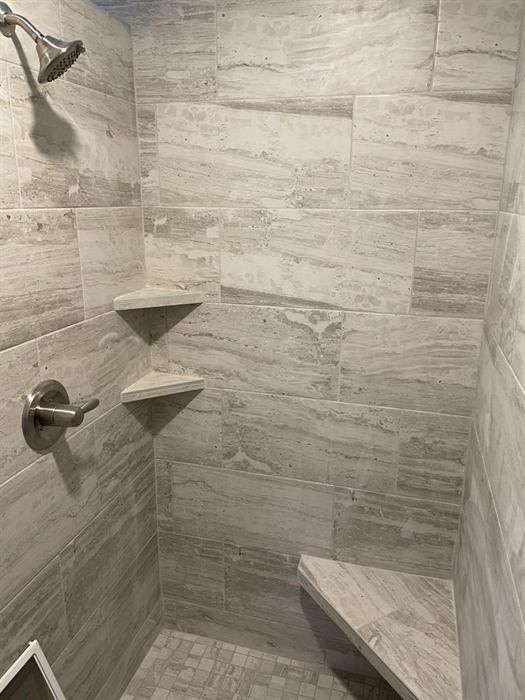
Gray vein cut stone look wall tile with corner shelves, corner bench and small mosaic floor
Questions

Tile Showers: Common Questions

Can you turn a tub into a tile shower?
Yes. The tub comes out and the valve and drain get moved where the shower needs them. That rough-in is plumbing work, so it happens first. Once the drain is stubbed up, we build the shower from there.
Is a curbless shower possible in my bathroom?
Sometimes. It depends on the floor structure and where the drain can go. We check both on site before we promise it.
Why not just regrout the old shower?
If the grout is the only problem, regrouting works. If the shower leaks, regrouting will not fix it, because grout is not waterproof. The fix for a leak is at the waterproofing behind the tile.
Get A Free On-Site Measure
Name, phone, and what you're tiling. We'll call you back, usually the same day.

Rather Just Call?

(320) 252-1242
Get a Free Estimate Contact Us